

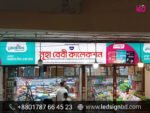
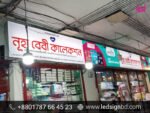
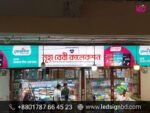
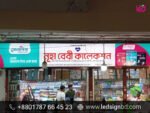
LED light box sign board design & making
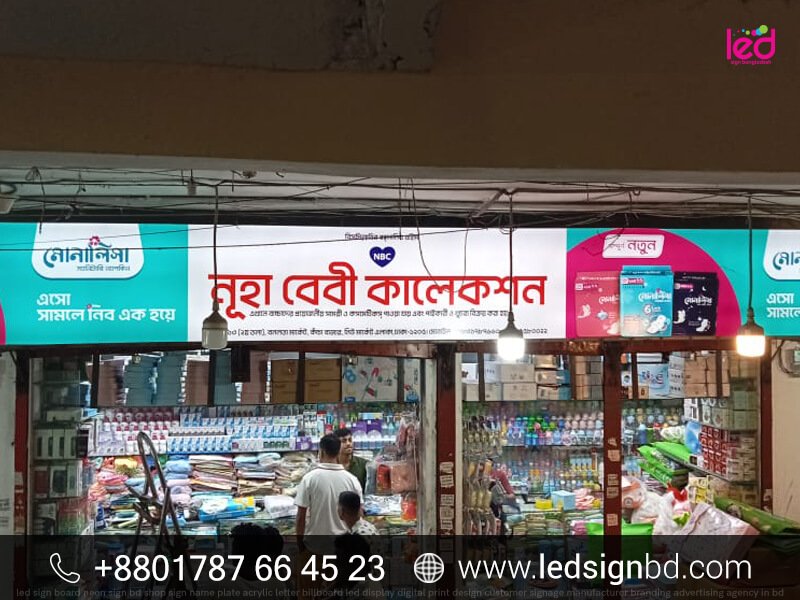
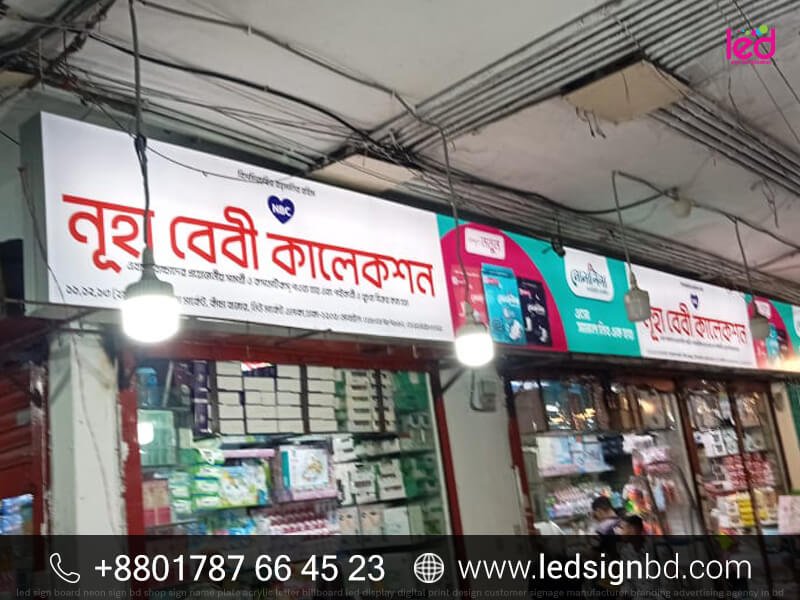
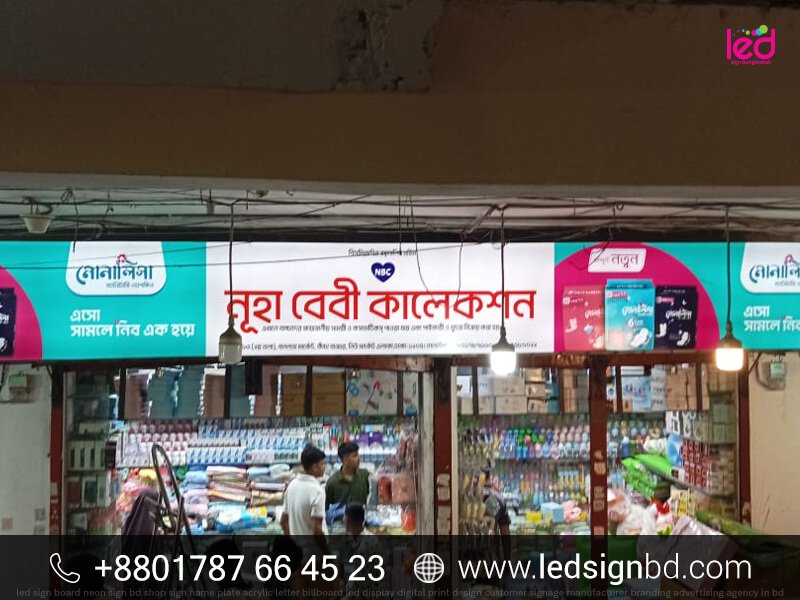
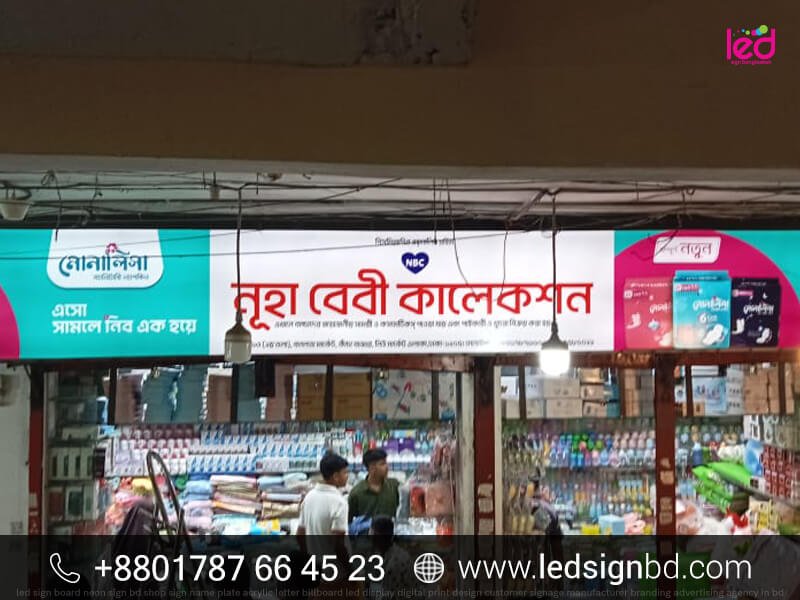
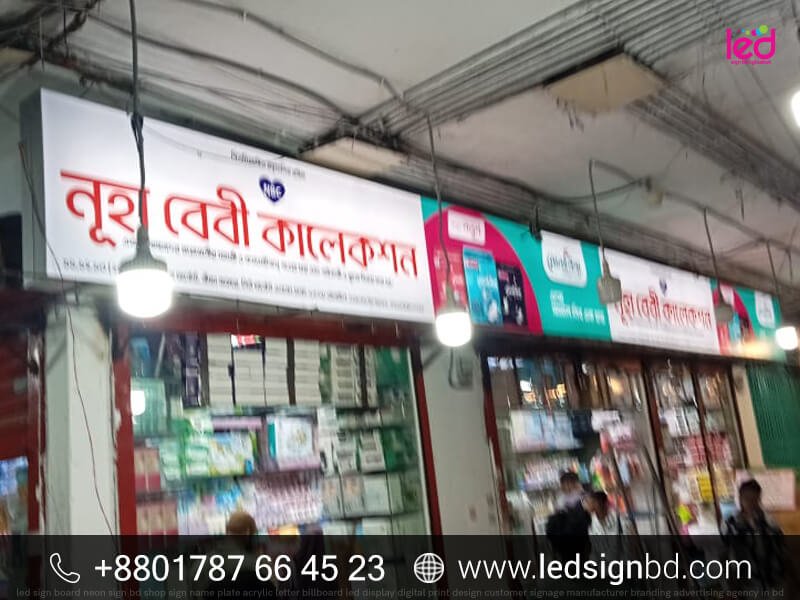
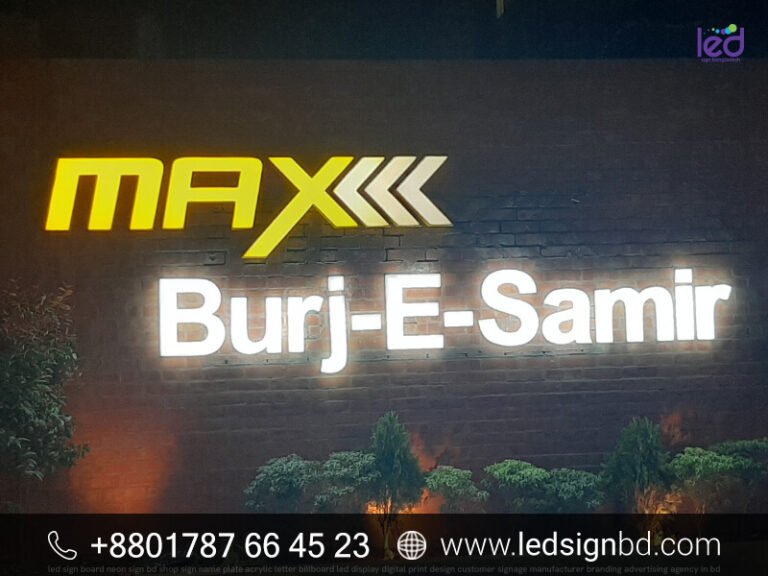
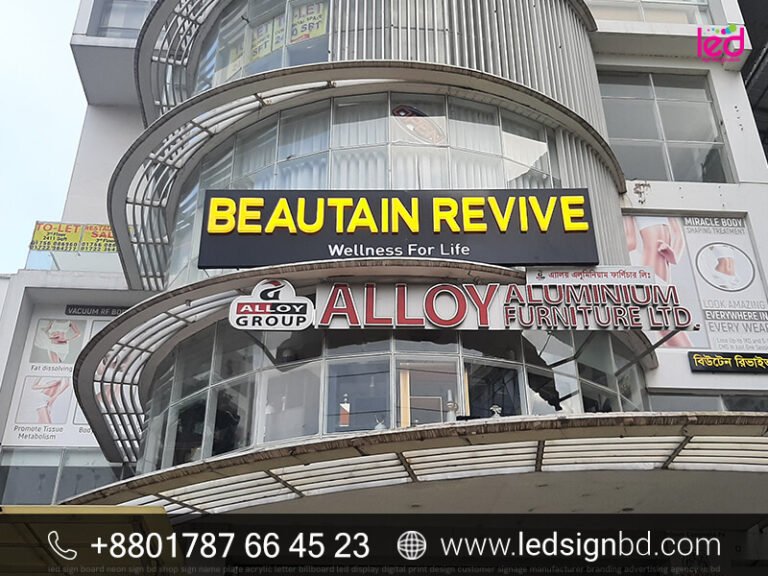
LED light box sign board design & making. Personalize your space with creative designs that impress. Get started on your custom plate today!
Apple Shopping Event
Hurry and get discounts on all Apple devices up to 20%
Sale_coupon_15
৳ 575.00 Original price was: ৳ 575.00.৳ 385.00Current price is: ৳ 385.00. This price is applicable for minimum 25 per square feet.
-
Pick up from the Woodmart Store
To pick up today
Free
-
Courier delivery
Our courier will deliver to the specified address
2-3 Days
Free
-
DHL Courier delivery
DHL courier will deliver to the specified address
2-3 Days
Free
-
Warranty 1 year
-
Free 30-Day returns
Payment Methods:
Description
Design and Make Your Own LED Light Box Sign Board
Illuminate your business with a custom LED sign that not only brightens your space but also showcases your unique style. Crafting your own LED light box sign board combines creativity, cost savings, and the satisfaction of DIY projects. This guide will walk you through the steps to design and make your sign, ensuring it stands out and reflects your brand.
The Allure of LED Light Box Signs in Modern Business
LED light box signs are popular for many reasons. They are bright, eye-catching, and efficient. A well-designed sign can grab attention day or night, making it perfect for attracting customers. LED lights are also energy-saving, leading to lower electricity bills. With endless design possibilities, you can create a sign that truly represents your business.
Why DIY Your LED Light Box Sign? Cost Savings & Creative Control
Creating a sign yourself can save you significant money compared to hiring professionals. Plus, you have complete control over the design and materials. This project can be an enjoyable experience, allowing you to express your creativity while producing something functional and beautiful.
Setting Realistic Expectations: Time, Budget, and Skill Level
Before you start, it helps to set realistic expectations. Consider how much time you can dedicate to this project. Having a budget in mind will also help guide your choices. Whether you’re a beginner or have some experience, this project can be adapted to fit various skill levels.
Design Phase: Planning Your Perfect LED Light Box Sign
Choosing the Right Size and Shape for Your Space and Message
The first step is to think about the size and shape of your sign. Measure the space where it will hang and decide on the amount of information you want to showcase. Common sizes include:
- Small: 24″x12″
- Medium: 36″x18″
- Large: 48″x24″
Selecting Materials: Acrylic, Aluminum, LED Strips, and Power Supply
Picking the right materials is essential for durability and appearance. Common materials include:
- Acrylic: Lightweight and easy to cut.
- Aluminum: Strong and weather resistant.
- LED Strips: Choose a good quality for brightness.
Don’t forget a reliable power supply to power your sign.
Incorporating Your Brand: Logo, Color Palette, and Typography
Your sign should reflect your brand identity. Include your logo, select a color palette that resonates with your business, and choose typography that is easy to read. Ensure that the font style complements the message you wish to convey.
Construction: Building Your LED Light Box Sign
Assembling the Frame: Cutting, Joining, and Securing Materials
Start by cutting your materials to size. Use appropriate joining techniques, like screws or glue, to secure everything in place. Make sure the frame is sturdy enough to support the LEDs and diffuser panel.
Installing the LED Strips: Ensuring Even Lighting and Avoiding Short Circuits
Carefully install the LED strips inside the frame. Plan the layout to ensure even lighting. Avoid short circuits by following manufacturer instructions and ensuring all connections are secure.
Creating the Diffuser Panel: Achieving a Uniform, Professional Glow
The diffuser panel helps disperse light evenly, preventing hot spots. Use milky white acrylic or a similar material. Cut it to size and fit it snugly within the frame.
Electronics: Wiring and Powering Your LED Light Box Sign
Choosing the Right Power Supply: Voltage, Wattage, and Safety
Select a power supply that matches the voltage and wattage needs of your LED strips. This ensures safe and consistent power.
Wiring the LED Strips to the Power Supply: A Step-by-Step Guide
- Strip Preparation: Cut LED strips to the desired length.
- Wiring: Connect the positive and negative leads from the LED strips to the corresponding terminals on the power supply.
- Insulation: Use electrical tape to wrap connections for safety.
Testing Your Connection: Troubleshooting and Ensuring Proper Function
Before final assembly, test the entire setup. Check for any flickering or dead spots. If issues arise, trace back to the connections and fix them.
Software and Templates: Utilizing Design Tools for Success
Utilizing Vector Graphics Editors: Adobe Illustrator or Inkscape
Using graphic design software can enhance your design. Programs like Adobe Illustrator or Inkscape help you create clean, professional-looking layouts for your sign.
Generating Print-Ready Files: Resolution, Color Profiles, and Formats
Ensure your designs are high resolution and in the correct color profile. Common formats include SVG, PDF, or PNG for easy printing.
Sourcing Pre-designed Templates: Websites and Marketplaces
If designing from scratch is daunting, look for pre-designed templates online. Websites like Etsy or Creative Market offer a variety of options at different price points.
Finishing Touches: Enhancing the Visual Appeal
Applying Vinyl Lettering: Precision Cutting and Application Techniques
Vinyl lettering adds a professional touch. Use a cutting machine to create your lettering, then carefully apply it to the sign to avoid bubbles or misalignment.
LED light box sign board design & making. Personalize your space with creative designs that impress. Get started on your custom plate today!
Protecting Your Sign: Clear Coatings and Weatherproofing
For outdoor use, consider adding a clear coat or weatherproofing treatment to protect against elements like rain or sunlight.
Mounting and Installation: Secure Placement for Optimal Visibility
Choose appropriate hardware to mount your sign securely. Consider visibility; make sure it’s at eye level and well-lit for maximum impact.
Conclusion: Your Illuminated Success Story
Creating your own LED light box sign board can be rewarding, both visually and emotionally.
Key Takeaways: Design, Construction, and Maintenance Tips
- Plan carefully before purchasing materials.
- Ensure safe wiring practices.
- Regularly check the sign for maintenance.
Futureproofing Your Investment: Adaptability and Upgrades
Consider designing your sign with interchangeable components for easy upgrades. Adaptability can save you money in the long run.
Inspiring Examples: Showcasing Successful DIY LED Light Box Signs
Take inspiration from successful projects shared online. Communities on social media platforms often display creative designs that can motivate your own unique sign.
By following these steps, you can create an eye-catching LED light box sign board that not only serves a function but also enhances your business’s aesthetic. Start your project today and watch your vision come to life!
Specification
 Overview
 Processor
 Display
 RAM
RAM
 Storage
 Video Card
 Connectivity
 Features
 Battery
 General
Customer Reviews
Related Products
3D Acrylic High Letter LED Light Sign Board Price
In stock
LED Sign Board Custom Prices in Bangladesh
In stock
3D Acrylic Channel Letters Sign Board LED Module Light
In stock
3D Acrylic High Letter LED Light MS Frame Sign Board
In stock
3D Acrylic High Letter LED Sign Board Price
In stock
LED Sign Board BD
In stock



Reviews
Clear filtersThere are no reviews yet.